Introduction
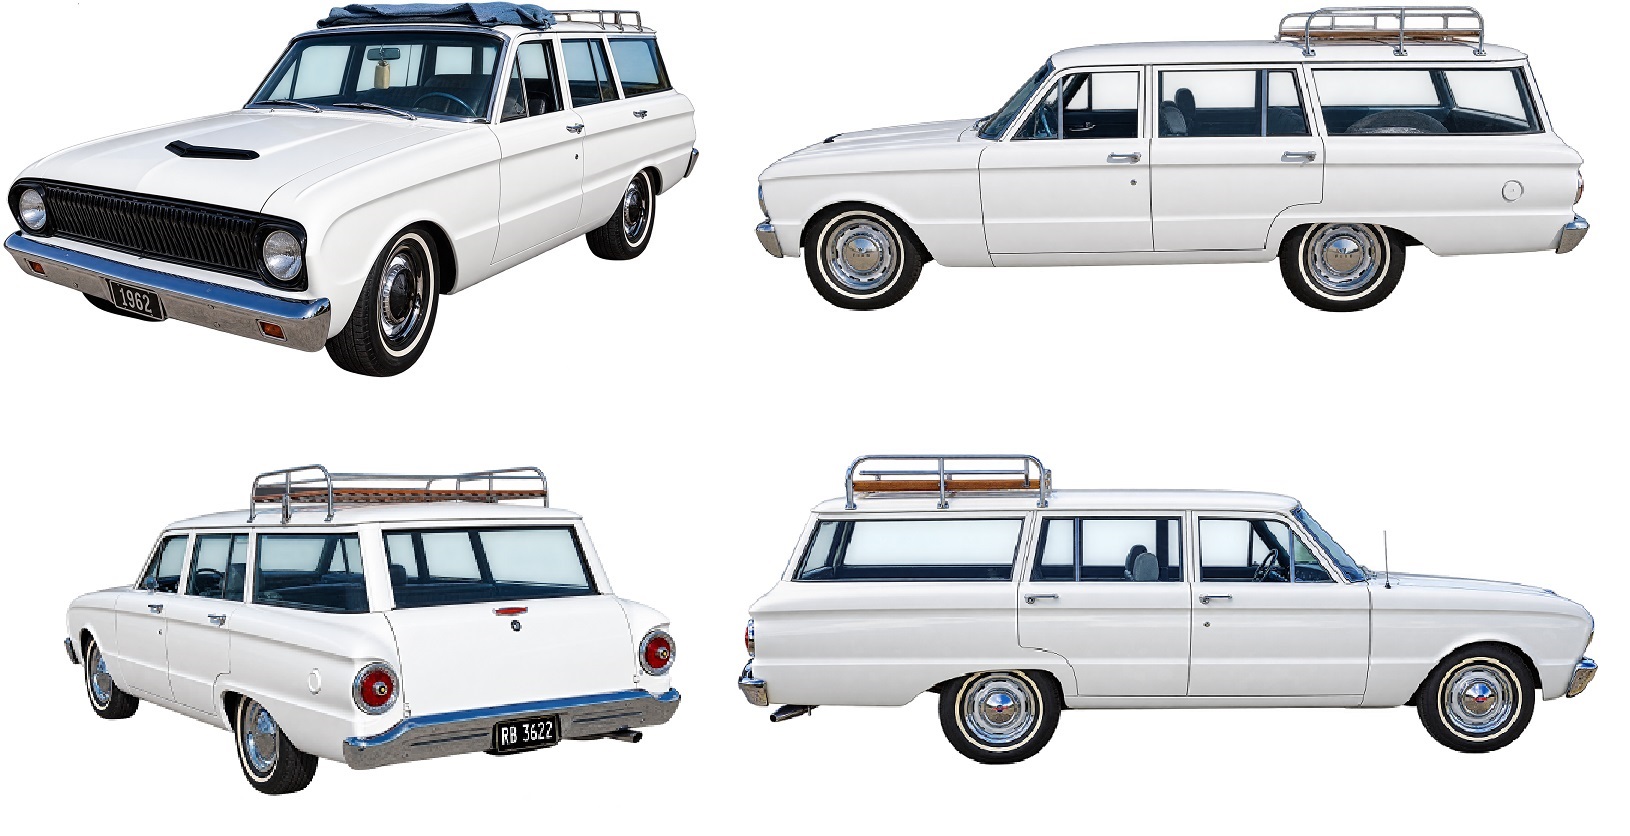
This is my new to me '62 Wagon I recently finished. It was nothing but a roller when we started it at Dick Gunn's house, a fellow club member who was going to build it for a daily driver. After about a year of work with the the help of my son Mikey, Dick decided he was wanting to sell it as things changed for him. We made an offer and the wagon by this time was to the point of being drivable, so we piled all of the parts in the back, installed a bucket seat and Mikey drove home. That was in November of 2024. At that point the car was painted, the windshield and back side glass was in and about half of the wiring was done. Then the fun began.
Engine Compartment
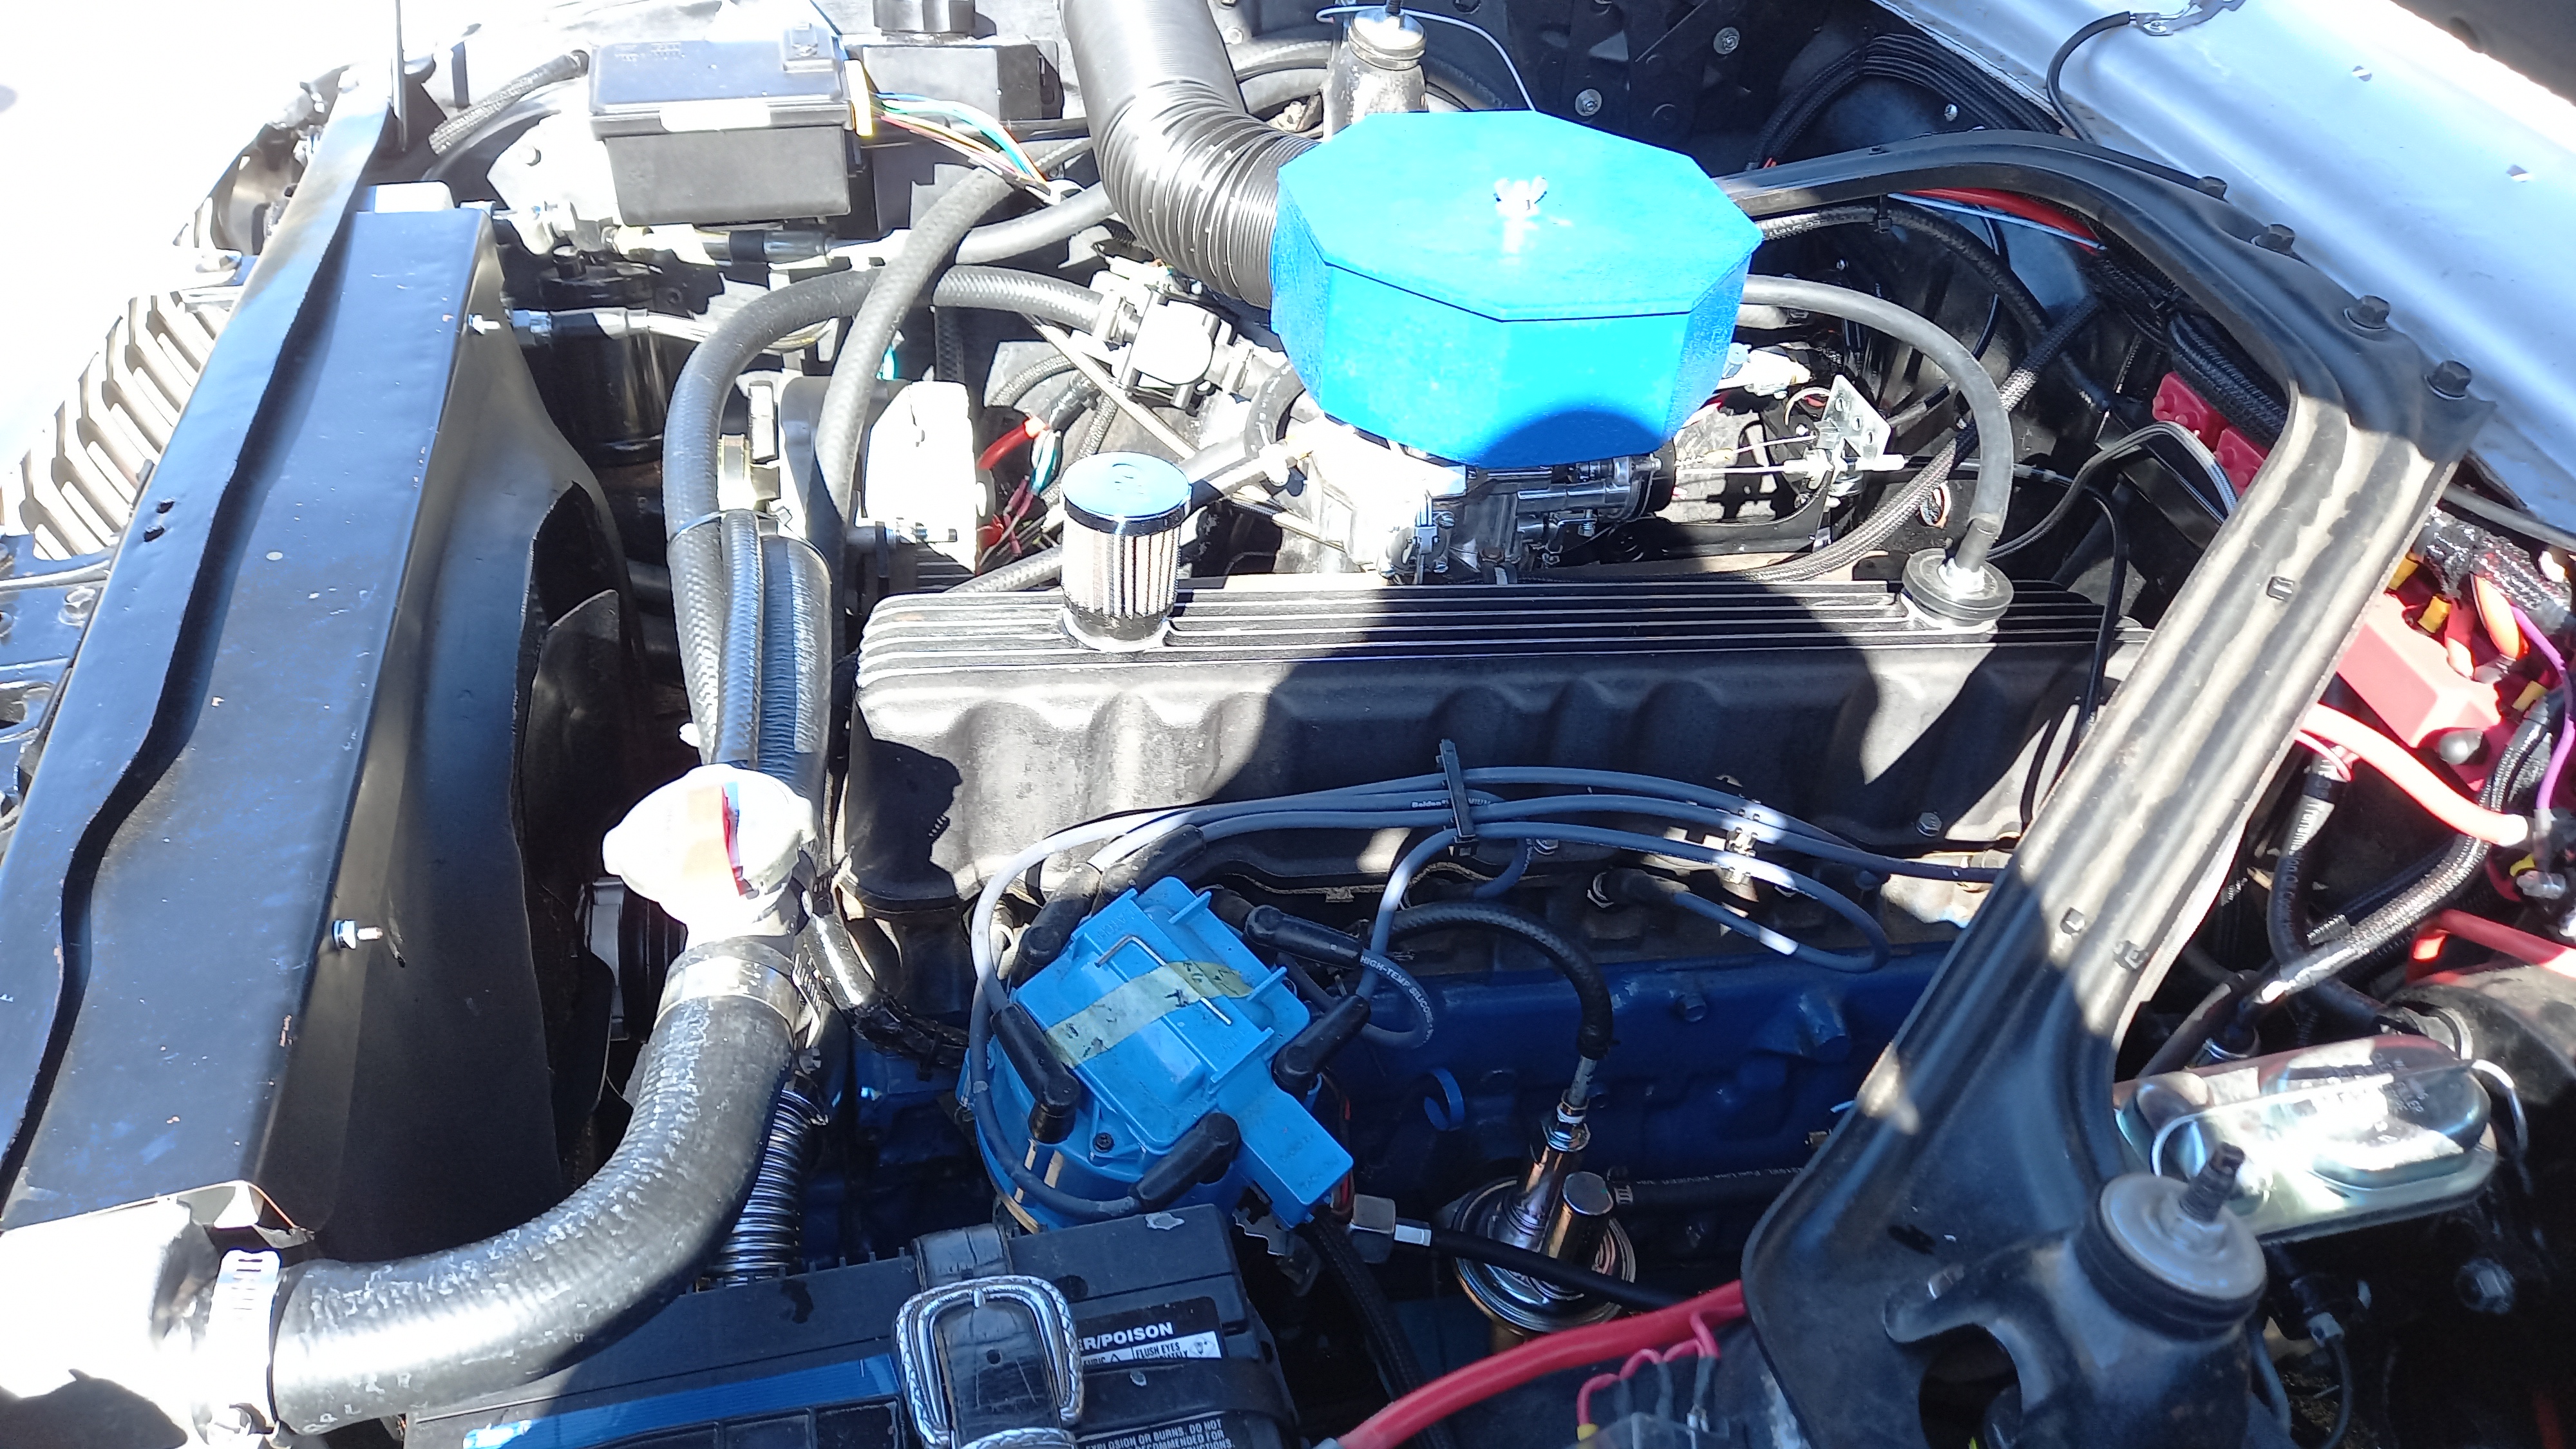
The engine is a 1968 200 I6 block with a 70s era large log head. Modifications include a split exhaust
header, a one wire alternator, Sniper EFI, AC compressor and cruise control. Hidden under the passenger
side fender is a Fox Body Mustang windshield washer tank with the filler in the engine compartment. Also
on the right fender apron is a billet aluminum collant recovery tank. The engine is breathing fresh air
through a 3D printed air cleaner enclosure.
The engine is cooled by a Corvette radiator with a custom built shroud by Dick Gunn over a stock 4 blade
fan. To assist there are 2 electric 8" pusher fans in front of the radiator controlled thermostacally by
the Sniper EFI CPU. One also will run anytime the AC is on.
The battery was moved to the driver's fender apron to better accomodate the AC compressor and alternator.
The starter relay (aka solenoid) was relocated to the firewall to be approximately midway between the
alternator and battery. A positive buss bat was added with a couple of circuit breakers for the AC and
power windows.
The power is applied to the rear wheels via a freshly rebuilt C4 transmission.
To help stop the wagon, a Corvette power booster is mated to a Ford Disc-Drum master cylinder with a
combination valve for safety.
Front Suspension and Steering
The front brakes are disc using the Squarebird brackets with the Squarebird suggested hardware. Great
fitment except I had to add a 1/4" spacer under the wheels to cleat the calipers.
The front suspension is basically stock with all new '65 Mustang components. The stock anti-roll Bar
(aka sway bar) was used, but may be swapped out for a larger one in the future.
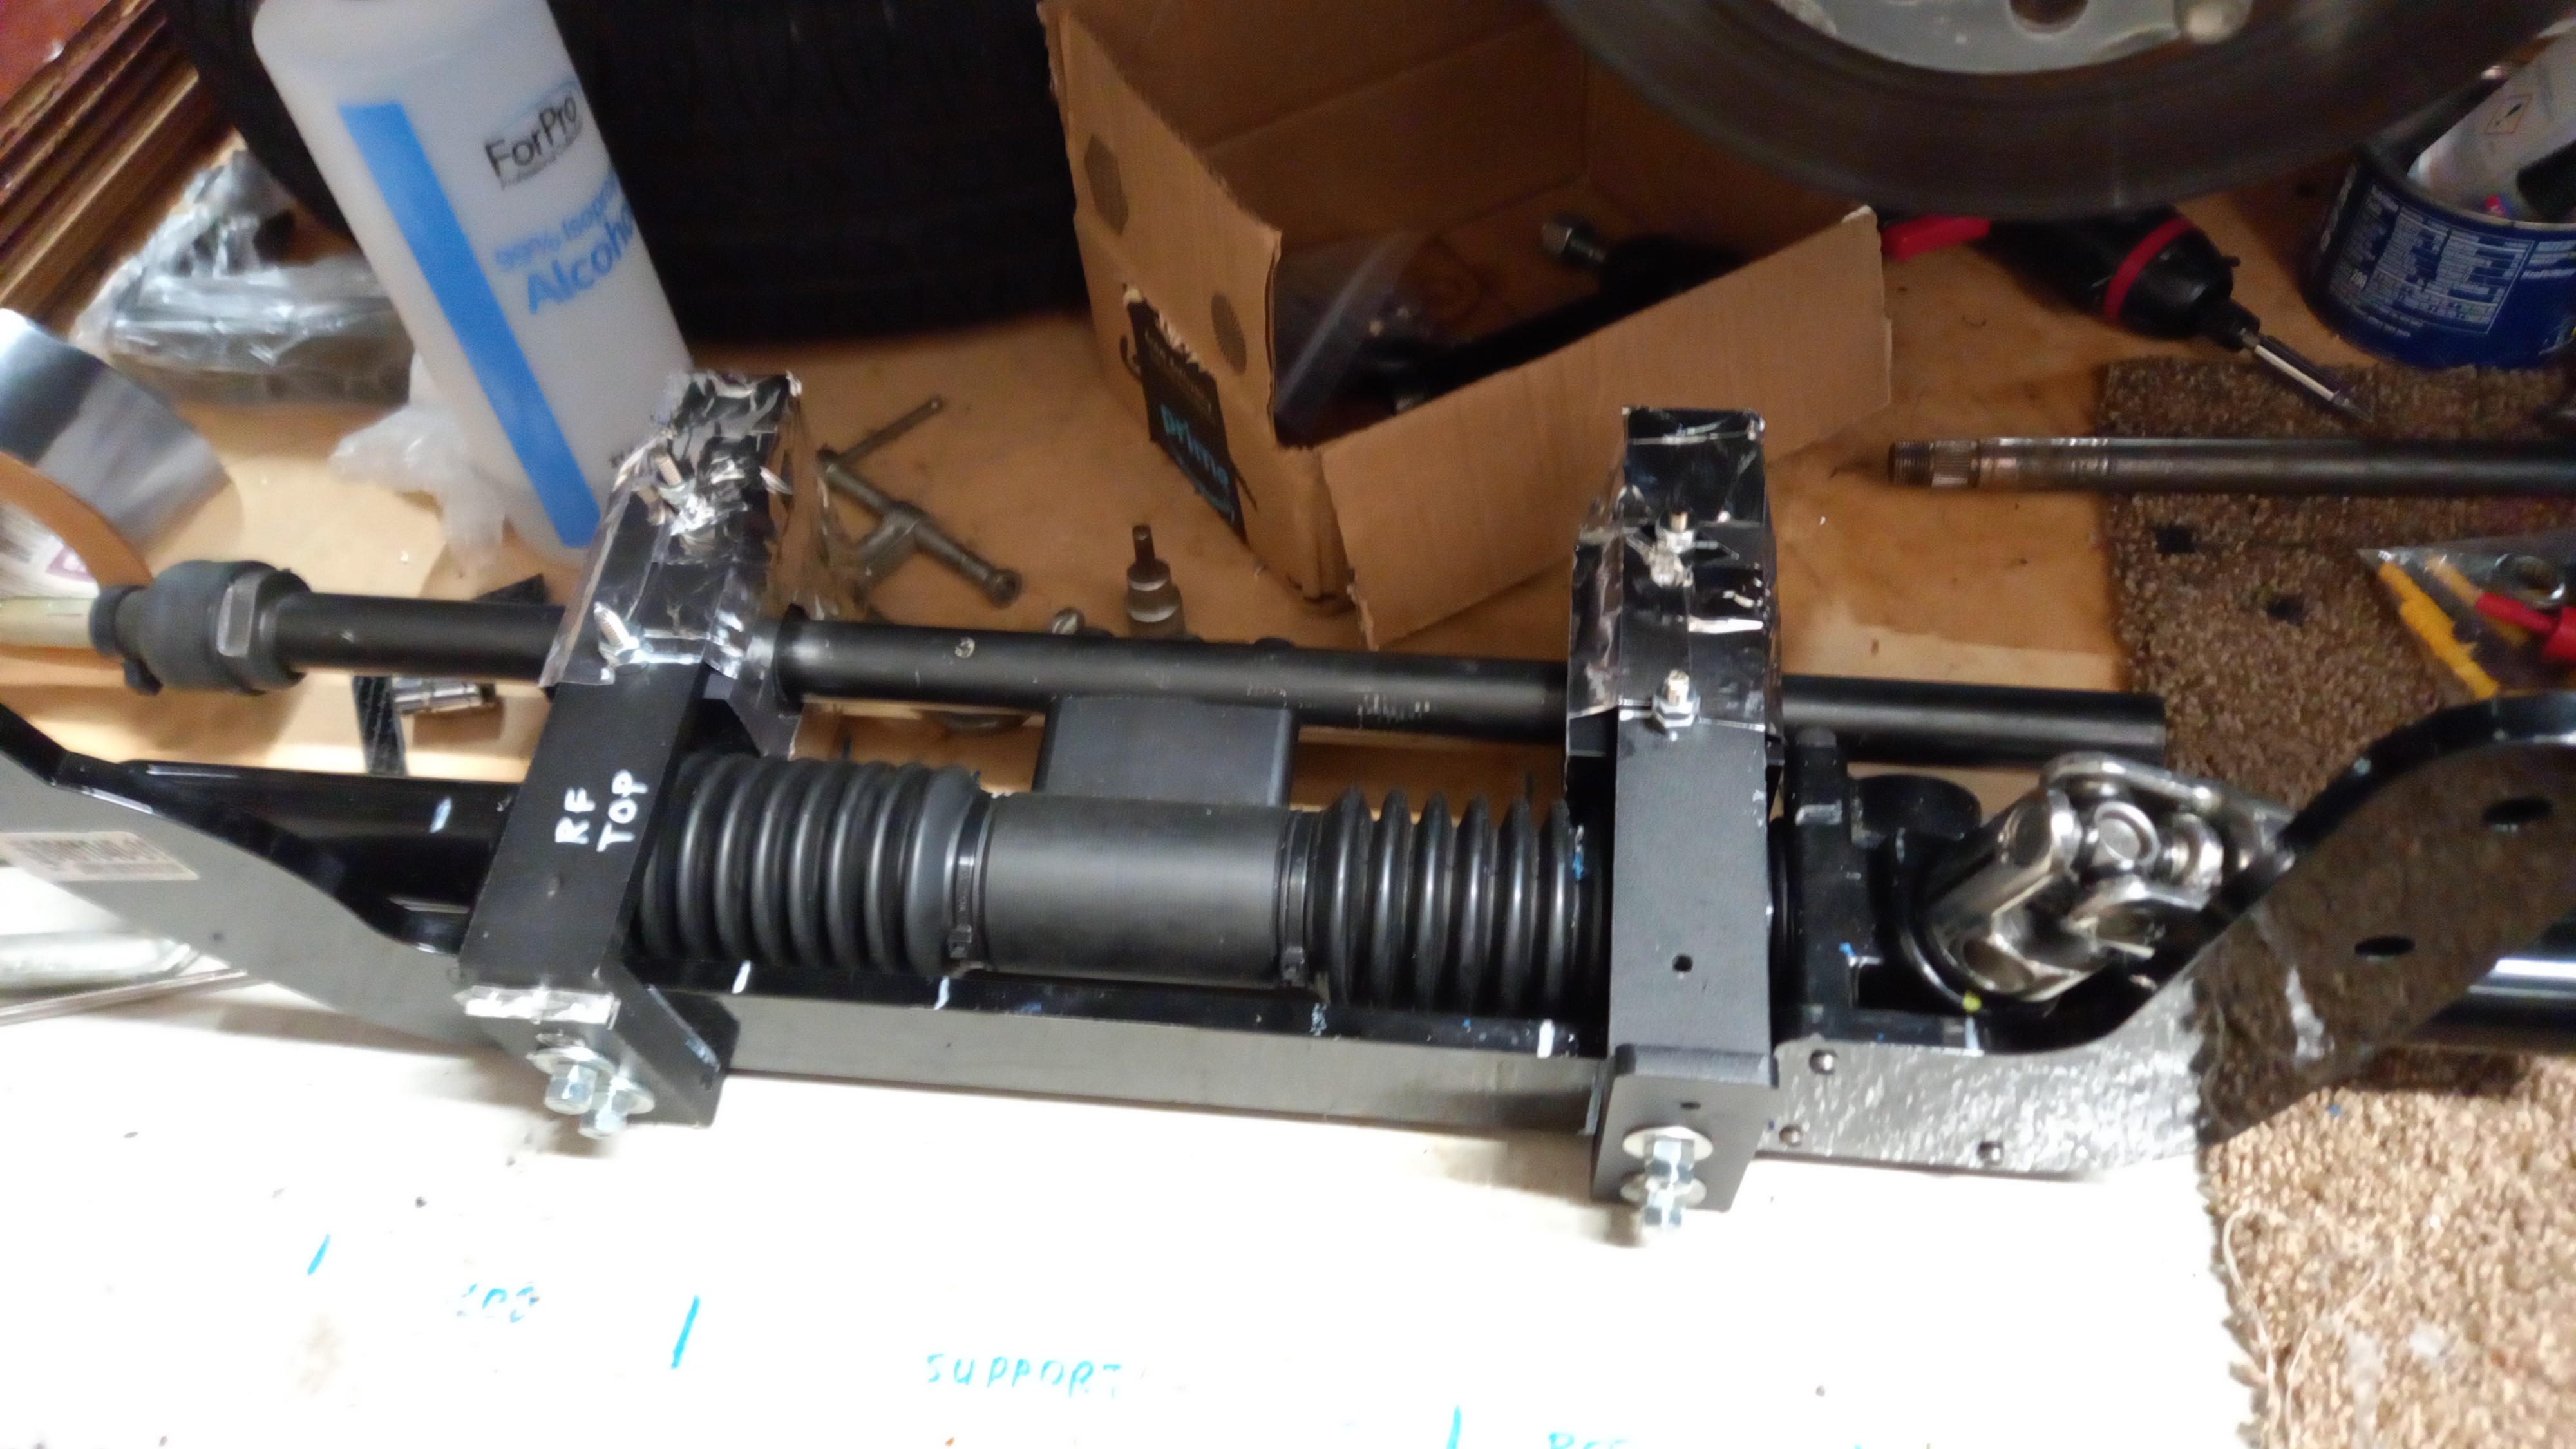
The steering linkage and gearbox has been swapped out for a Unisteer manual rack and pinion kit. It is
connected to the steering wheel via a Toyota Prius Electric Power Assist Steering (EPAS) unit that is
mounted under the dashboard. The Unisteer rack is a center takeoff unit in order to get the pivot
points to line up with the pivots of the lower control arms for reduced bump steer. The kit comes with
a cross member plate which mounts with the engine support bracket bolts. That stiffens up the fron end
as well. It reduces the turning radius some, but not that noticable except for parking. But with the
power steering not bad at all.
In order to limit the suspension drop, there are these suspension straps added. This is to prevent over
stressing the rack linkage. Ford actually had a service bulletin suggesting the suspension should be
limited when raised on a lift and gave details of a device to wedge in to hold the upper control arms
up.

Unisteer Rack & Pinion
As can be seen the center takeoff rack uses an arm bar connected to the rack inthe center. One issue I ran into with this design is the arms can move up and down due to the steering force. The effect is a dead feeling like there is when a gearbox has to much slack. To eliminate this issue I added two linear bearings to support the bar mounted with the aid of a couple 3D printed mounting blocks. I covered them with heat reflecting tape.
Rear Axle & Suspension
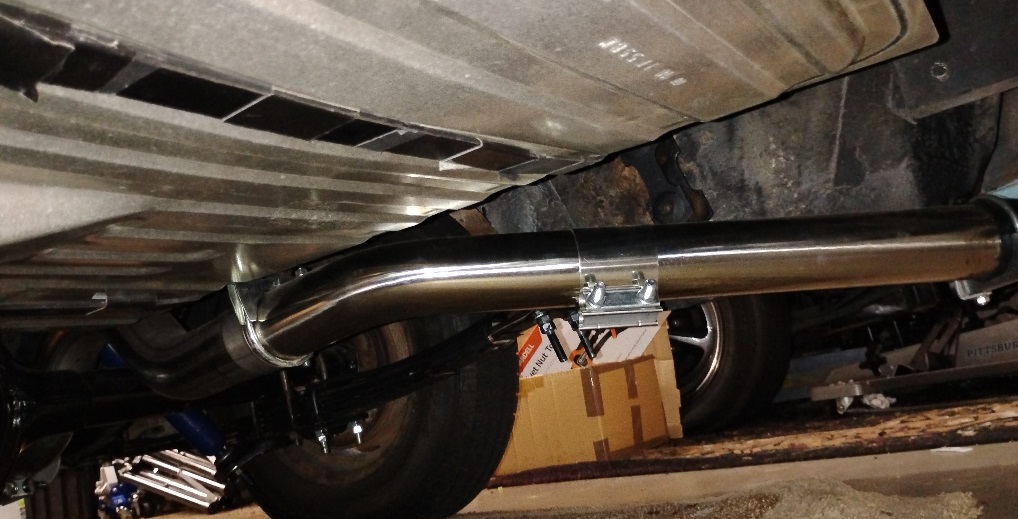
The rear axle is a 8 inch Maveric with 4 lug axles, drum brakes and stock leaf springs with all new bushings and added helper springs. The center section is a new Quick Peformance 3.40 positrack unit. A new gasoline tank, pickup and high pressure fuel pumps were also installed. The fuel return is routed back to the rear vent bung that was supplied with the tank. The front vent bung is connected to a Fox Body Mustang charcoal fuel vapor canister. The canister is connected to the stock fuel line to connect to the purge solenoid in the engine compartment. The fuel pump EFI feed line and the fuel return line is the new 6AN braded fuel lines they use for EFI fuel hookup. There is a 100 micron prefilter and a 10 micron post filter before and after the electric 60 psi fuel pump. The driveshaft is new and high speed ballanced with new U-Joints. The axles also have new bearings installed.
Dashboard
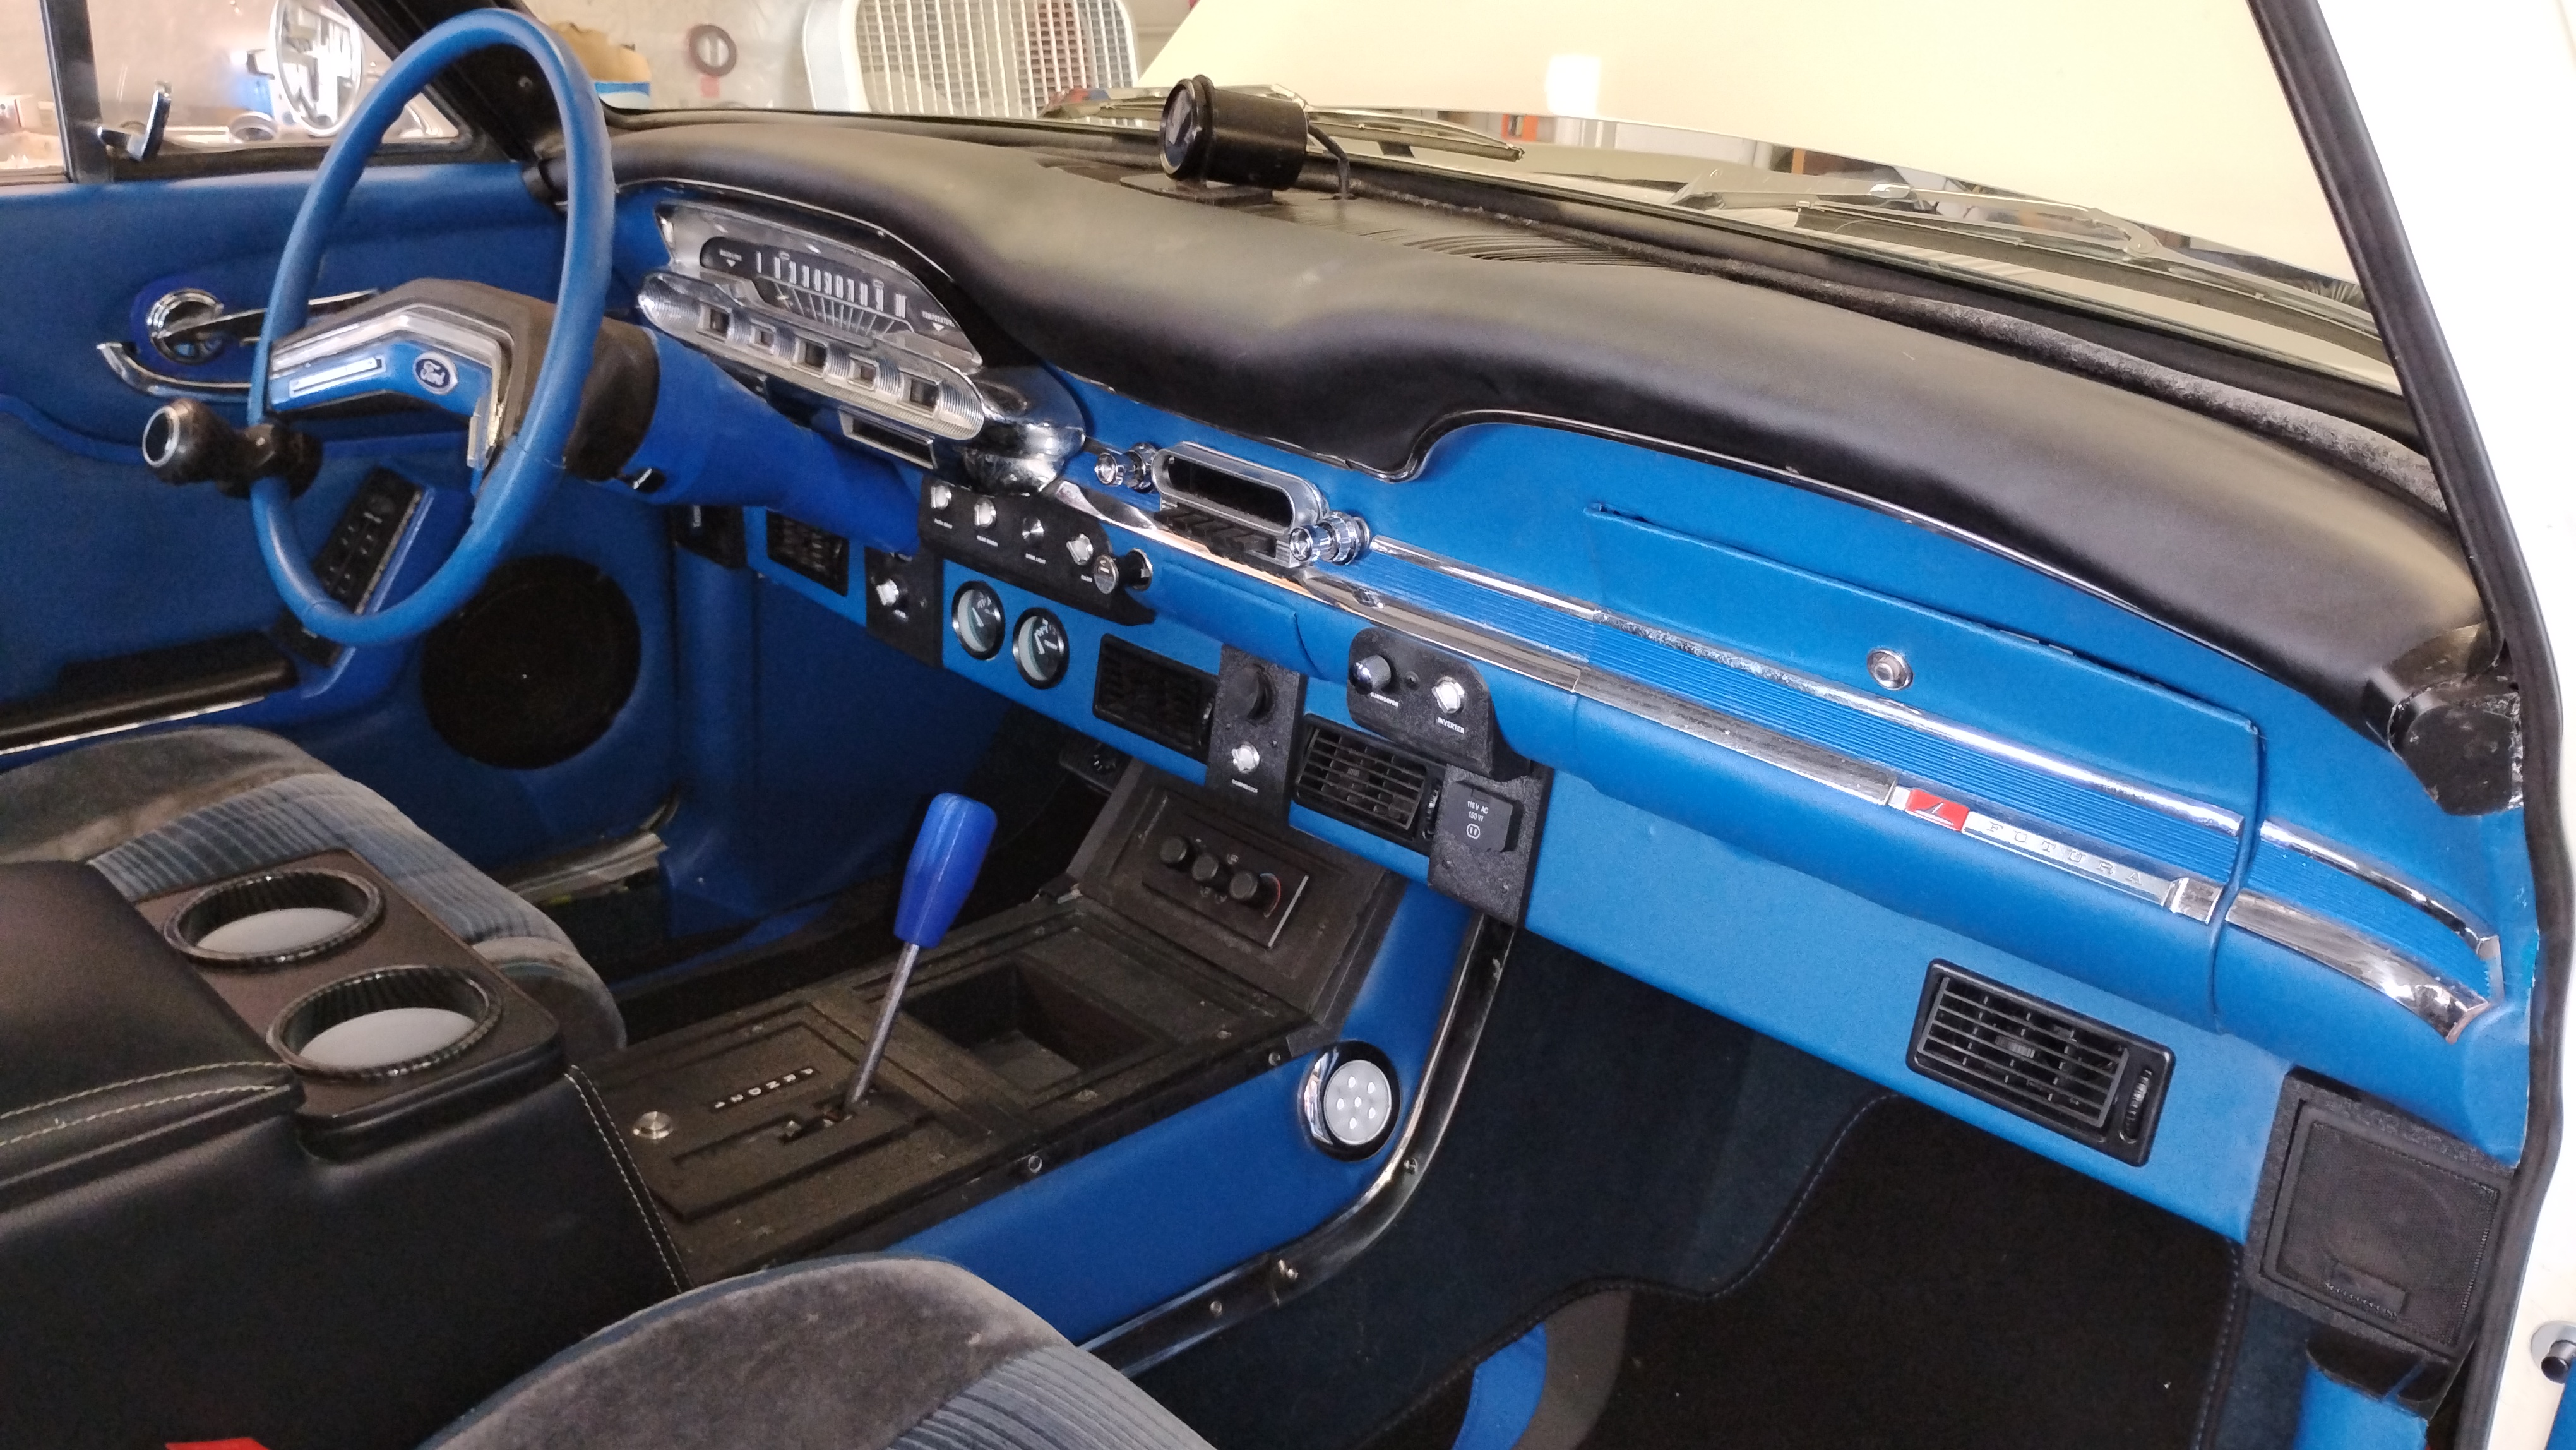
The first thing tackeled was the dash pad. Dick Gunn applied a foam sheet and stretched a black vinyl covering over the top of the dash. The padded dash trim was added to finish it off. Next I applied some blue vinyl to the bottom of the dash instead of paint. Then a set of Futura chrome dash trim with blue painted inserts was fitted. A 4 inch drop down panel was added to the underside of the dash to accommodate the AC outlets, gauges and other controls which includes a EPAS defeat switch, AC compressor switch, radio aux input with a USB port, and an 120V inverter outlet with switch. At each end of the dropdown panel are speakers for the stereo.
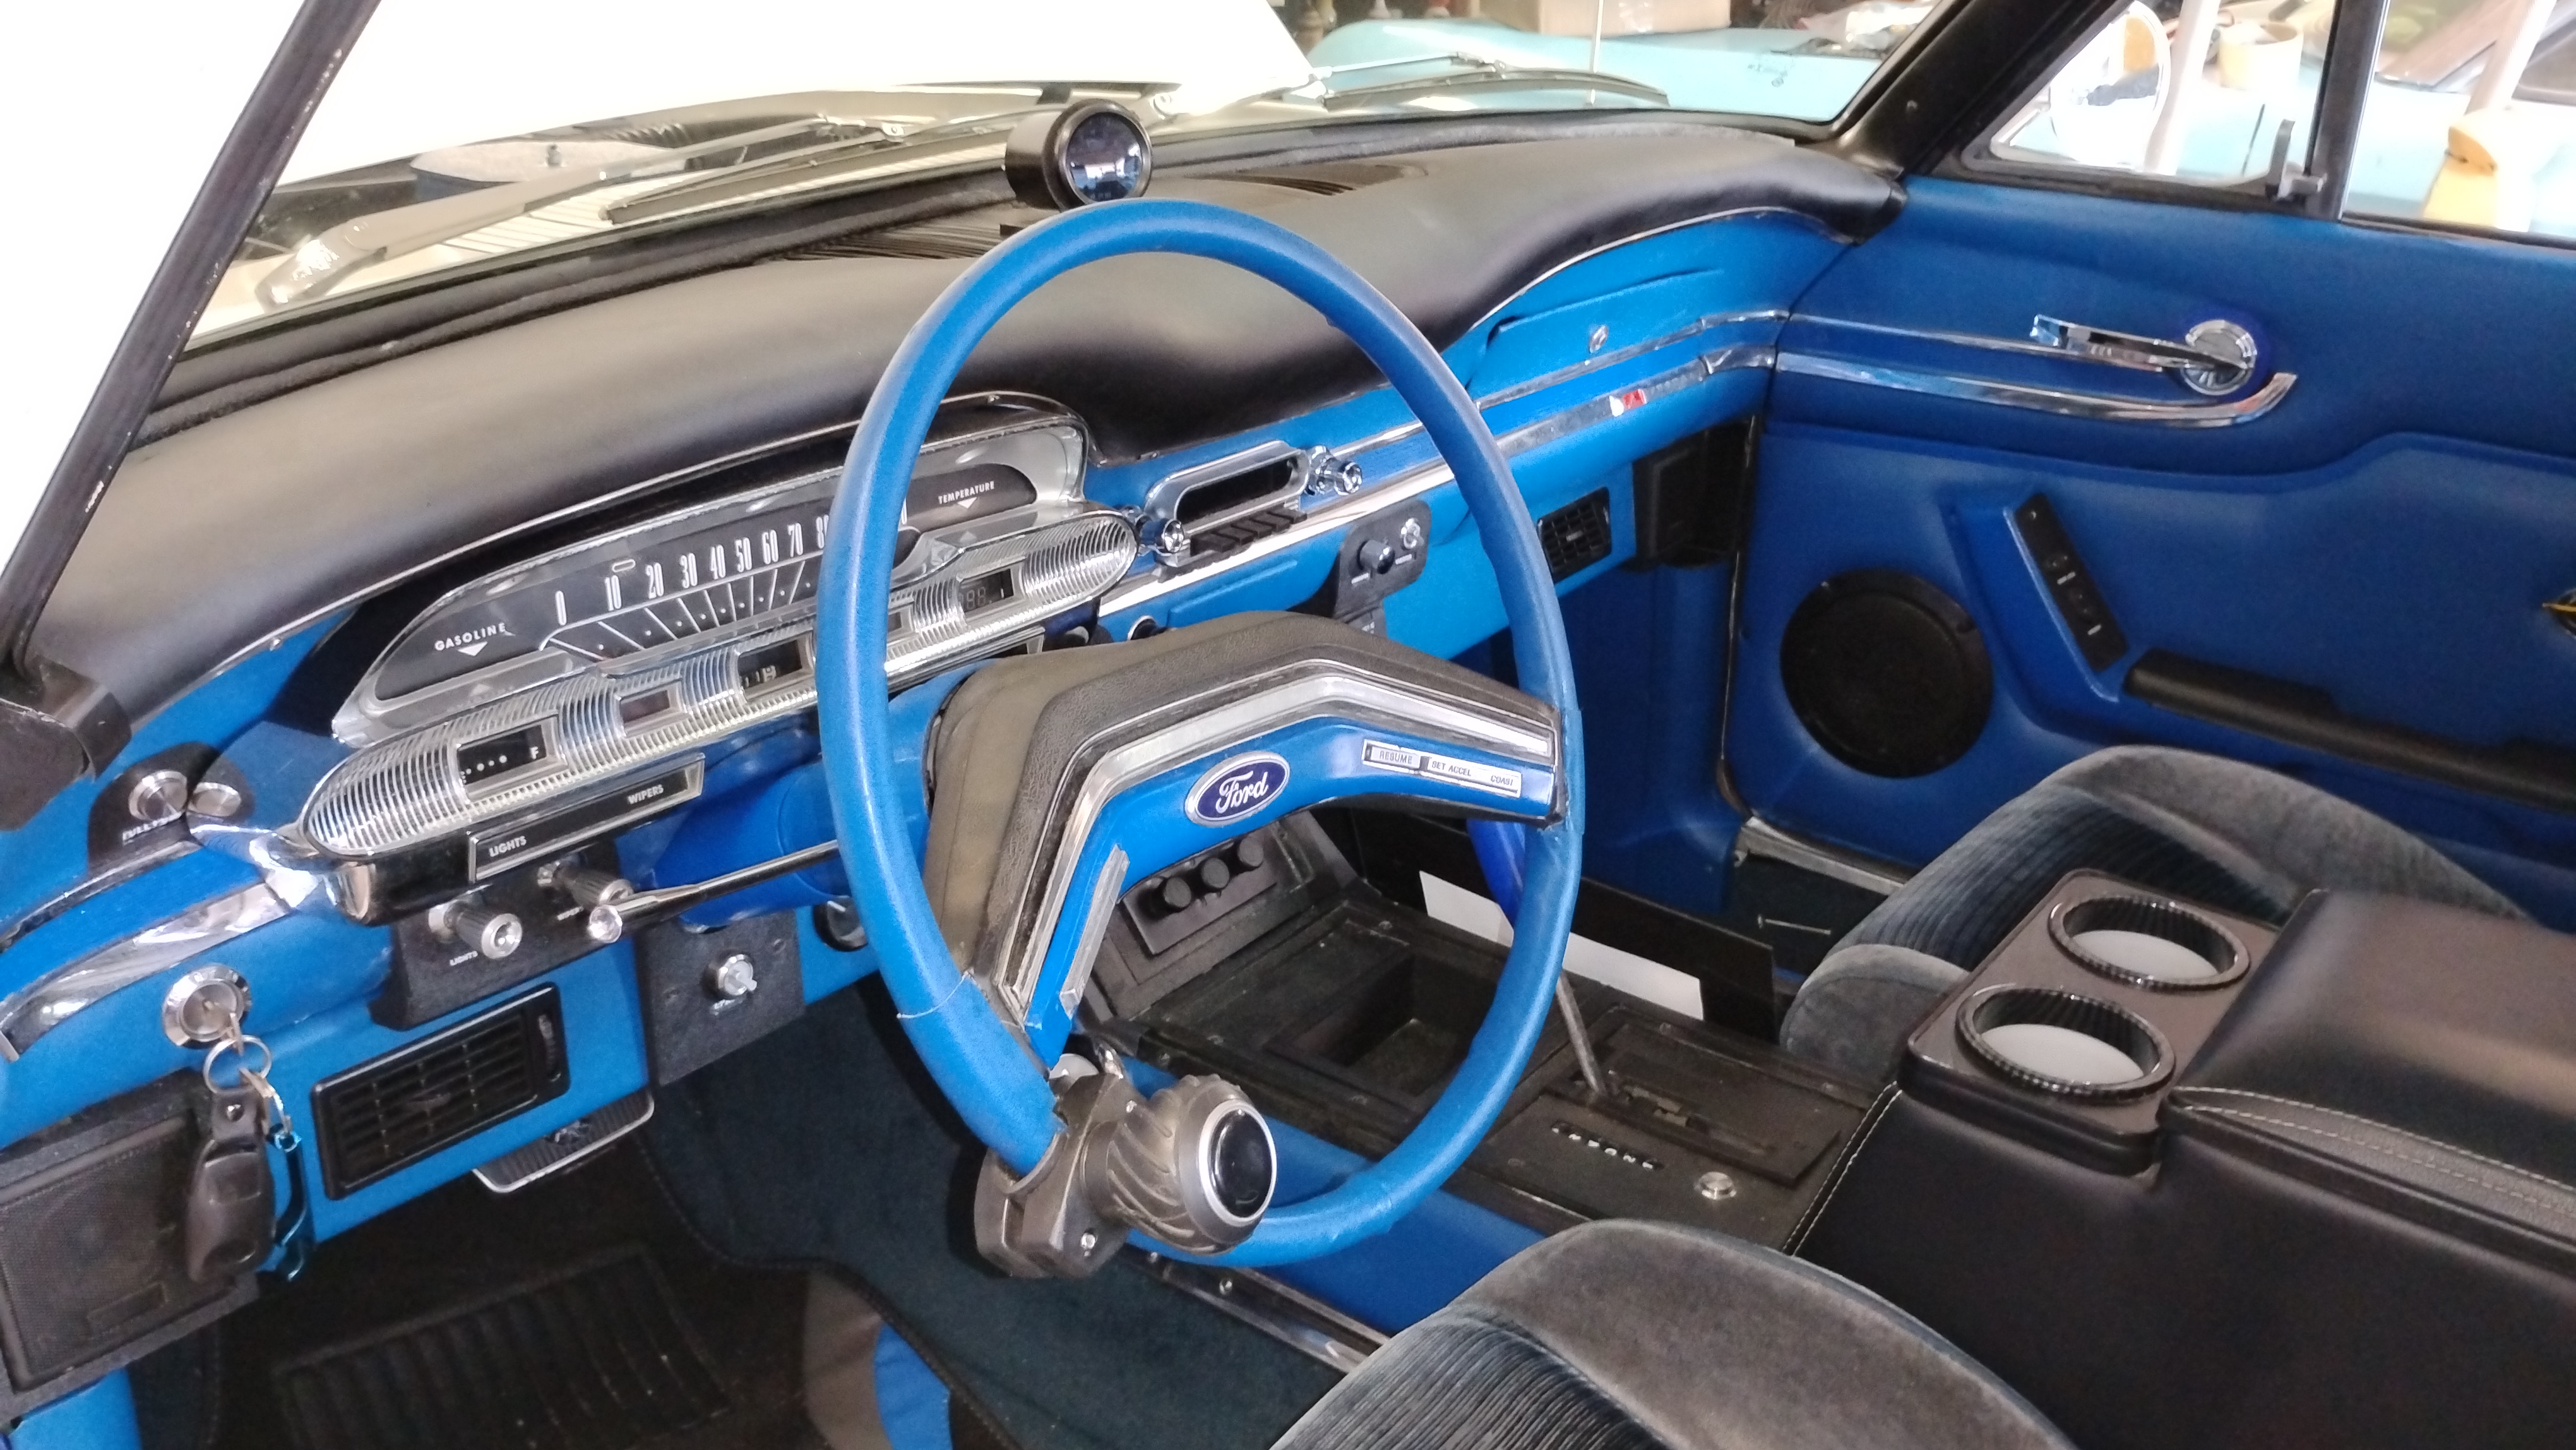
For the speedometer cluster a Mercury Comet cluster was used with a digital voltmeter fitted where the
original Temperature gauge was located. The oil warning light is functional even though an oil gauge was
added in the drop down panel. The high beam and turn signal lights have been re-purposed for the left
and right turn signal lights. The high beam is a red LED that shows up in the speedometer area. At first
the '62 speedometer cluster was going to be used, but the Comet cluster fits the dash with the Futura trim
much better, IMO. Also notice the backlit blacked out tachometer mounted in a 3D printed mount above the
dash in the same position as the sprints.
Since the steering wheel is in the photo, now is as good a time as ever to mention it is from a 70s era
Ford Bronco. The buttons in the wheel are used for the cruise control and it is covered with the blue vinyl.
The wheel required the use of a turn signal switch from a 70s era Ford column. I got a '66 Thunderbird
steering column and modified the turn signal mounting ring to mount the turn signal switch. Since the switch
is larger than the '66, I made a new cone cover for the switch with my 3D printer. The turn signal switch
has the lane change and hazard lights features.
The car arrived without any front seats so a decision needed to be made about what to do. It so happens that I also have a 64 Falcon Futura convertible that has a pair of Ford Probe bucket seats in blue valour. When I built the convertible I had the rear seat recovered to match the front buckets. So the decision was made to buy 4 matching bucket seats and put them in the convertible. That allowed the bucket seats to be used in the wagon. I removed the back seat cover and built a seat for the wagon to accomodate the cover.

With bucket seats obviously a console was in order. I ordered a small console with a compartment and cup holders to act as a center armrest. Next a 1/2 inch aluminum angle frame was built. The sides were made using 1/8 inch thick plywood with foam padding under the vinyl at the top and carpet on the bottom. The stainless trim to separate the two is from a'64-66 Ford Thunderbird. The top plates for the shifter and the storage well were 3D printed. Also the inclined plate which the AC control panel is mounted was also 3D printed.

For the shifter the plate has a gated slot to make it so it can't accidentally shifted to reverse when cruising down the highway. There is also an indicator which is lit red based on the shifter position. I made a shifter to accomodate the shift cable and 3D printed the blue shifter knob. The pushbutton is a second dimmer switch.

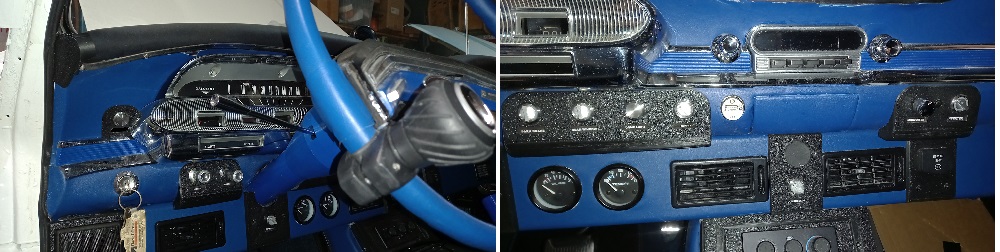
In order to be able to label the switches which do not do what the original positions were used for, I printed 3D bezels with small windows for the lables. To the left of the cluster is the dome light defeat switch which allows the dome lights to be turned off with the doors open. On the left of the steering column are the headlights and wiper switches. Under the steering column is the EPAS defeat switch. To the right of the column are the switches for the rear windows, electric park brake, dome light, and radio switch which allows the radio to be played without the key. In the center on the drop down is the aux input and USB port for the radio and the compressor switch. Then to the right of the ash tray are the subwoofer on-off and level control and the 120V inverter on-off switch.
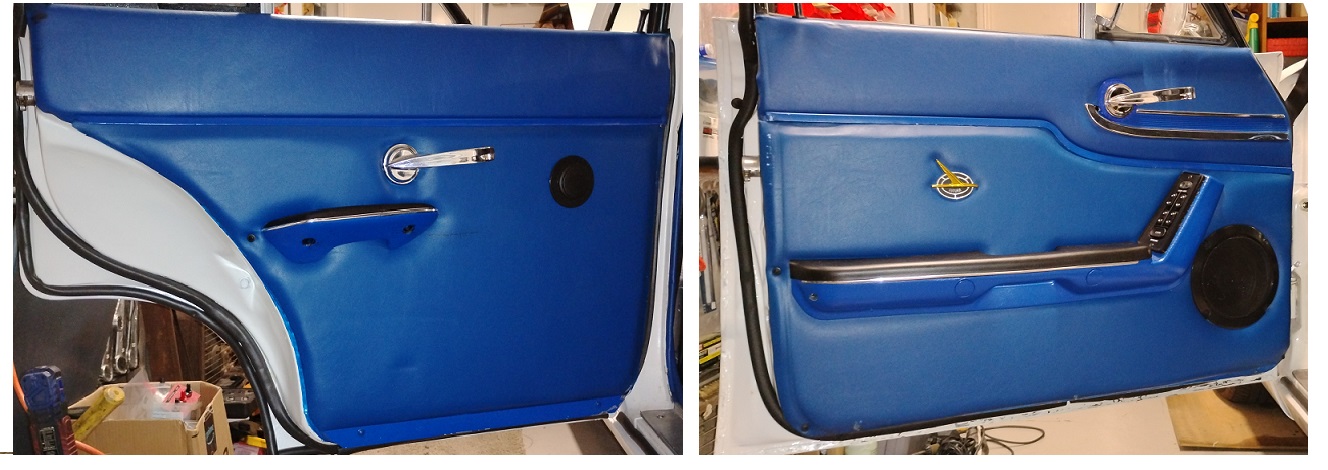
The door panels were made from 1/8 inch Masonite panels covered with foam and blue vinyl. The front panels have Fox Body Mustang armrests to house the switches for the windows and door locks. Also the front panels have 6 inch coax speakers for the radio. There are no window switches in the rear door panels as the switches are located on the B pillar trim. Also I finished the stock rear armrests to match the style of the front with a chrome strip separating the black top and blue bottom.
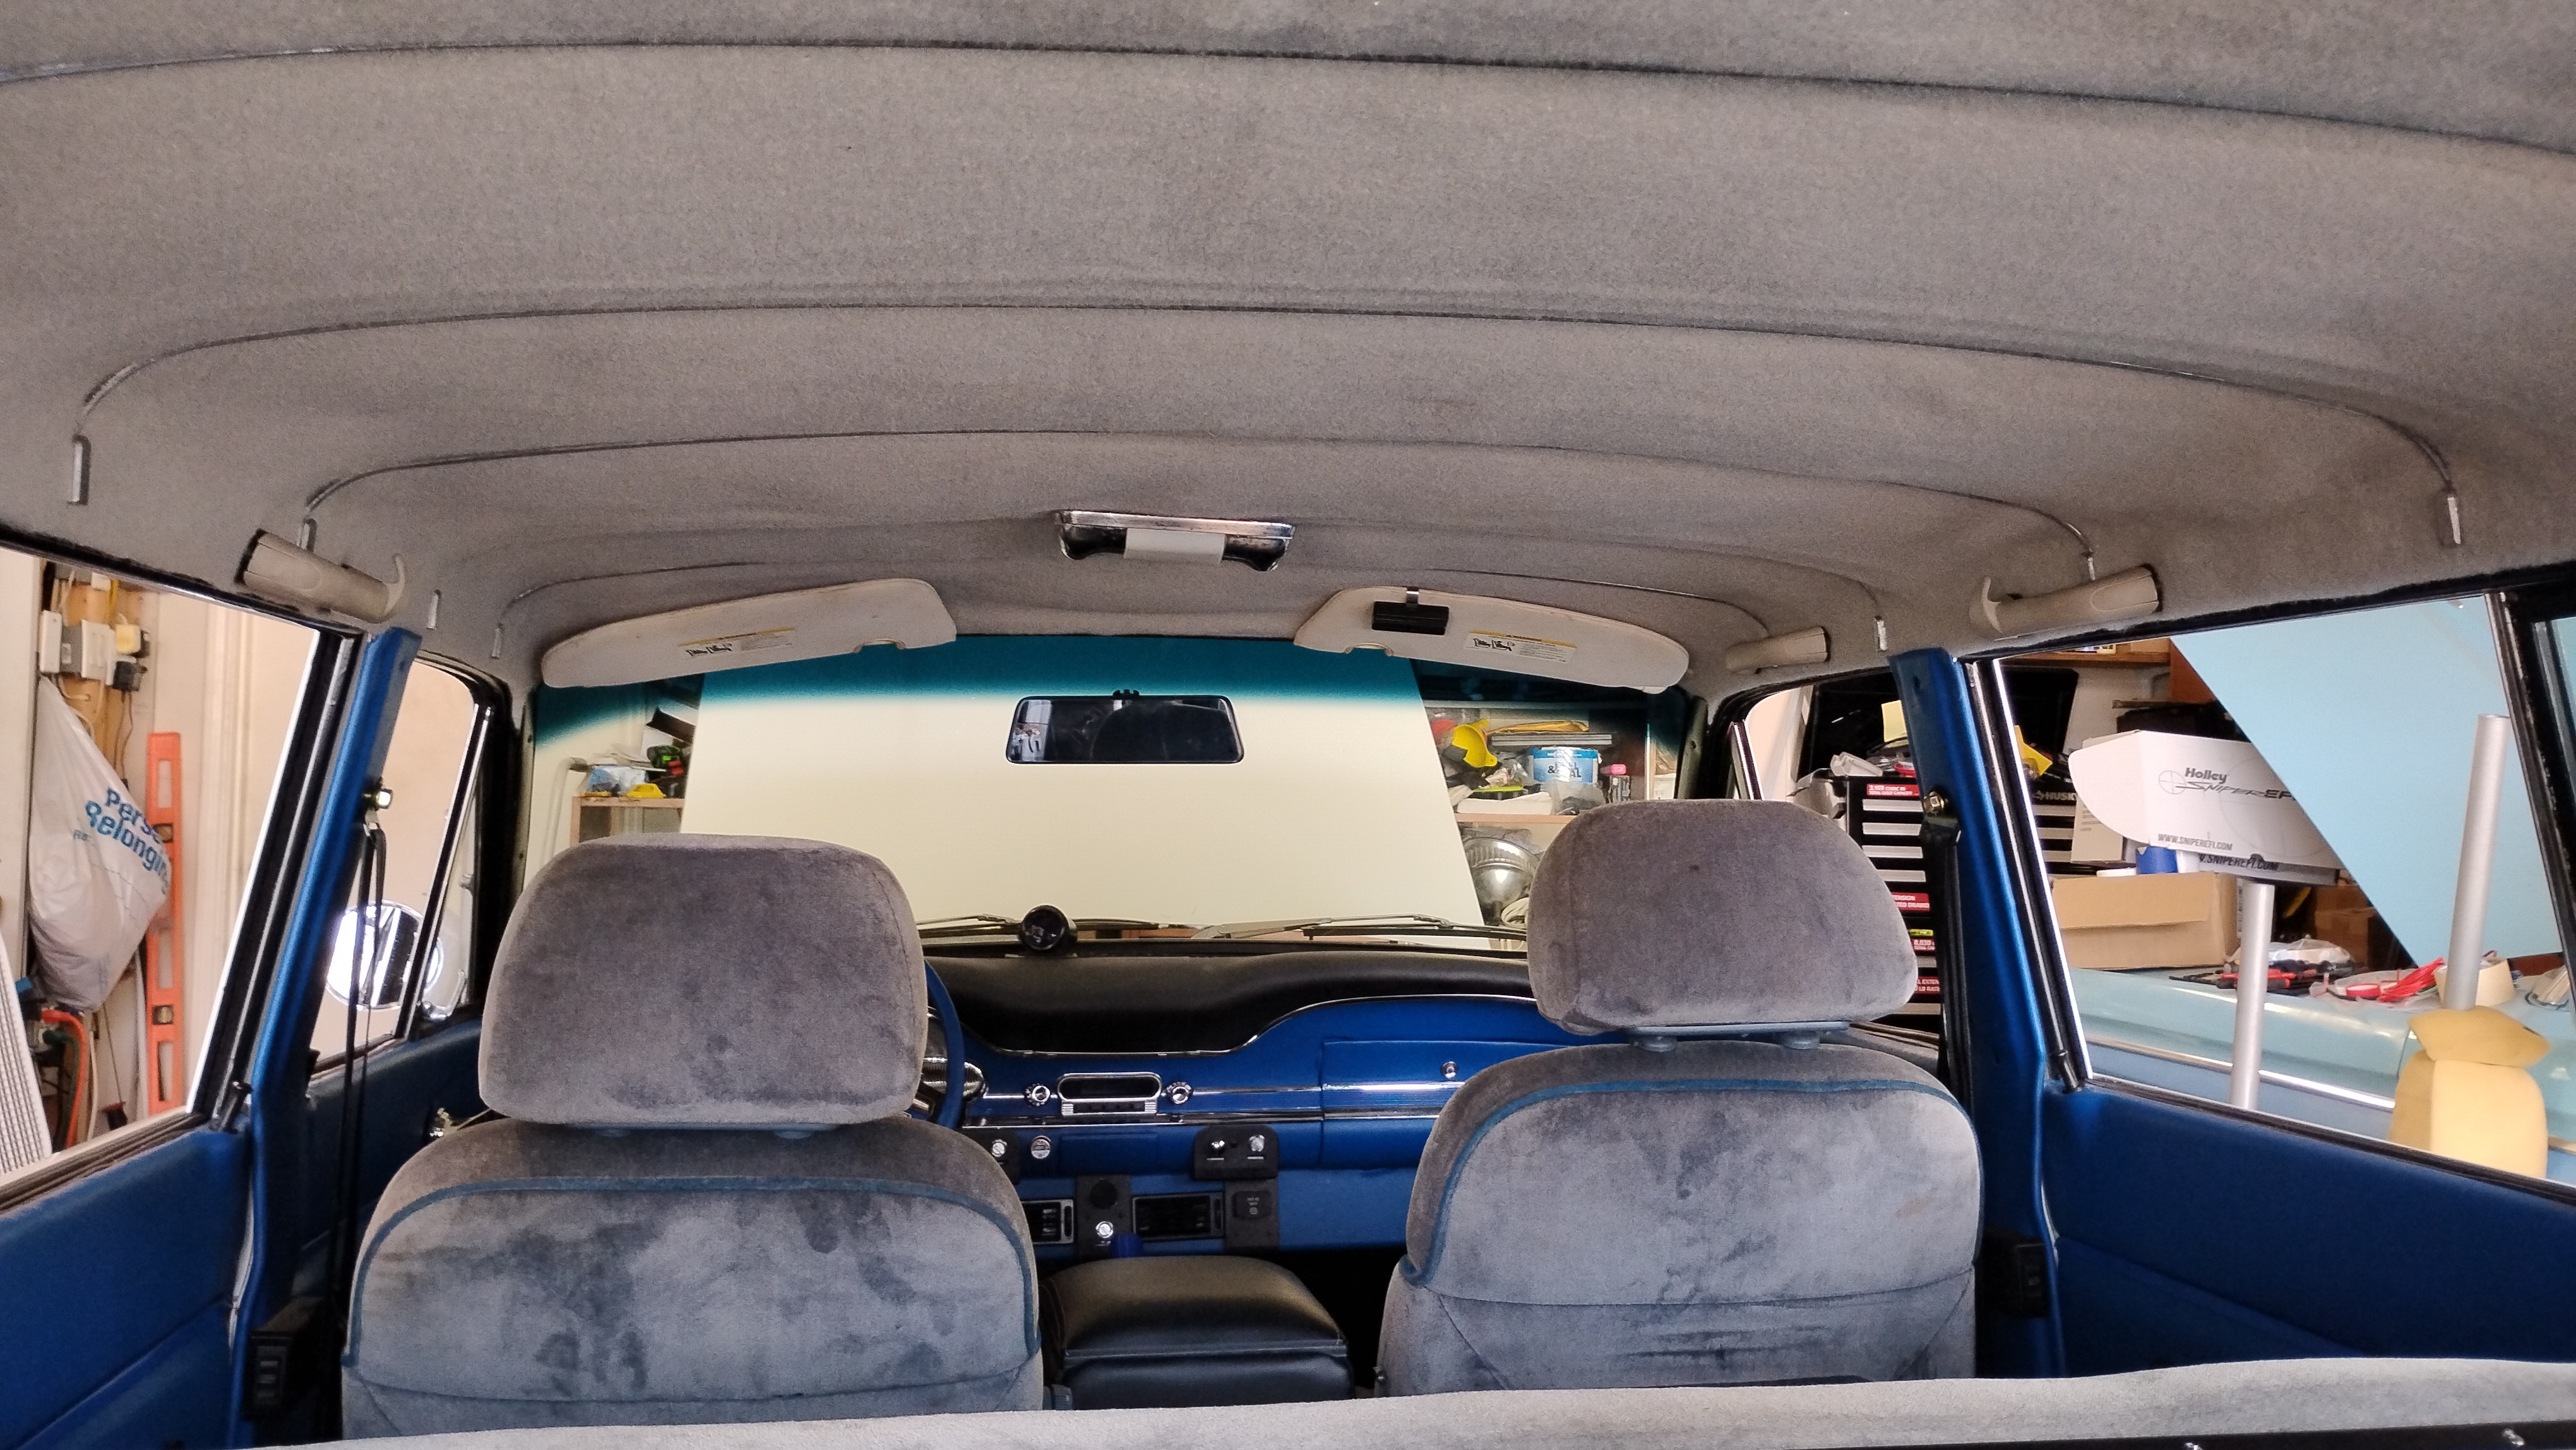
Headliners are some of the most dificult to make look good. I bought a vinyl headliner from ebay that was supposted to fit a 1962 Falcon wagon. Well it didn't as the bow pockets did not line up with the holes for the bows. So I decided to go a completely different route. Back in the 60s I had a 1956 Buick Roadmaster 2 door hardtop that had chrome exposed bow trim for the headliner. I always likes the look and wondered why that was abandoned. So I got some silver Ozite type carpet and put the bows exposed to hold up the carpet. The bows were chromed with mirror chrome and some 3D printed caps were added for the ends of the bows. A black trim was added over the rear windows and the carpet was wrapped behind the metal strips over the doors. The front featured sun visors from a 2010 Dodge Caliber.